Concrete joints, where two or three sections of the concrete meets, are the weakest points easy being subjected to liquid leakage. So a number of waterstop products are designed to form a moisture barrier to deal with these issues.
Appropriate installation determines the performance of waterstops in water-proofing and reduces spalling and cracking of surrounding concrete. In order to provide convenience to our customers, the guidance of waterstop installation is list below:
Preparation:
Before installation, uncoil waterstops (especially for those waterstops have shape-memories) to let it resume straight shape - that makes waterstop easy to handle and fabricate. Check the waterstop whether it has any defects or cracks. Replace the defective and unacceptable waterstops.
Installation:
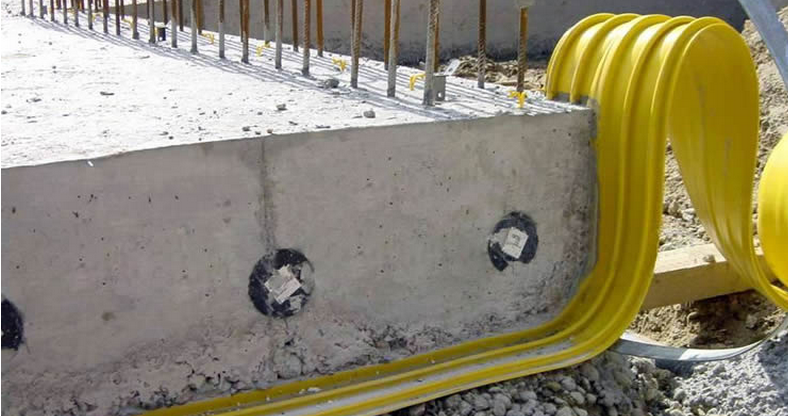
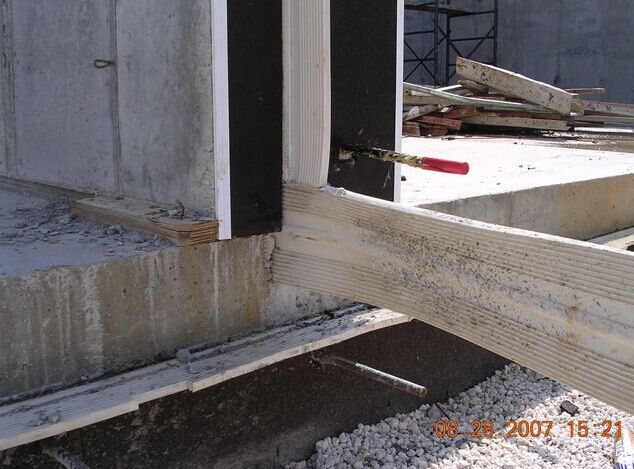
- Place waterstops at appropriate position. Make sure that about a half width of it is embedded in the concrete.
- Contain about 1.5 times of clear coverage between the waterstop and surround reinforcing steel without any rock pockets and air voids.
- Tie the waterstop to surrounding reinforcing steels by threading steel wire to metal eyelets, punched holes or hot rings of waterstops to fix the waterstop firmly. Meanwhile, make sure there is no displacement during fastening.
- Pour the concrete and vibrate concrete nearby the joints (especially those under the waterstop) to enhance the contact with waterstops.
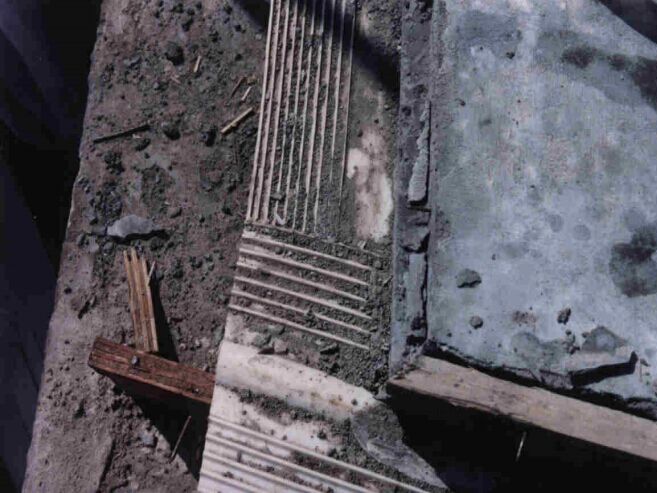
- Clean debris and dirt of concrete surface after first pour.
- Repeat the above methods for a second pour.


